
DTF Gang Sheet Essentials: A Step-by-Step Guide to Printing Brilliance
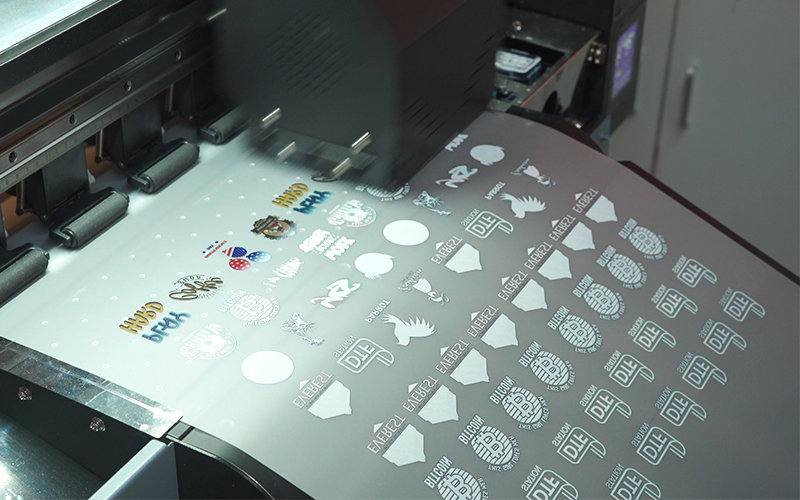
Looking for solutions to elevate your custom shirt business to the next level? DTF gang sheet printing stands out as a highly favored and efficient method for custom garment printing, making it an essential skill for those embarking on a custom shirt business journey. In this post, we’ll explore the concept of gang sheets, offer a size design chart, provide a free online gang sheet builder, walk you through the step-by-step process of creating DTF gang sheets, and everything required for crafting DTF gang sheet transfers tailored to your business requirements. Keep reading, and kindly share if you find this post helpful.
Table of Contents
- What’s A Gang Sheet?
- Why DTF is The Best Choice for Crafting Gang Sheets?
- Gang Sheet Size Guide
- Free Online Gang Sheet Builder
- How to Design A Gang Sheet for Free: Step-by-Step Tutorial
- Step 1: Create A New Design
- Step 2: Create the Canvas
- Step 3: Upload Images
- Step 4: Adjust & Design Your Layout
- Step 5: Save Your Design
- How to Create A Gang Sheet in Photoshop
- Advanced DTF Gang Sheet Tactics
- How to Make Custom Gang Sheet DTF Transfer?
- How to Print the DTF Gang Sheet transfer Step by Step?
- What You’ll Need to Start DTF Gang Sheet Printing?
- DTF Printer
- Heat Press
- Powder Shaker (Optional)
- Curing Oven (Optional)
- Air Purifier (Optional)
- DTF Film
- Adhesive Powder
- DTF Ink
- Conclusion
What’s A Gang Sheet?
Gang sheet typically refers to a sheet of paper, film or other printing material that contains multiple copies of the same or different items arranged closely together. This arrangement is done to optimize the use of the printing material and minimize waste.
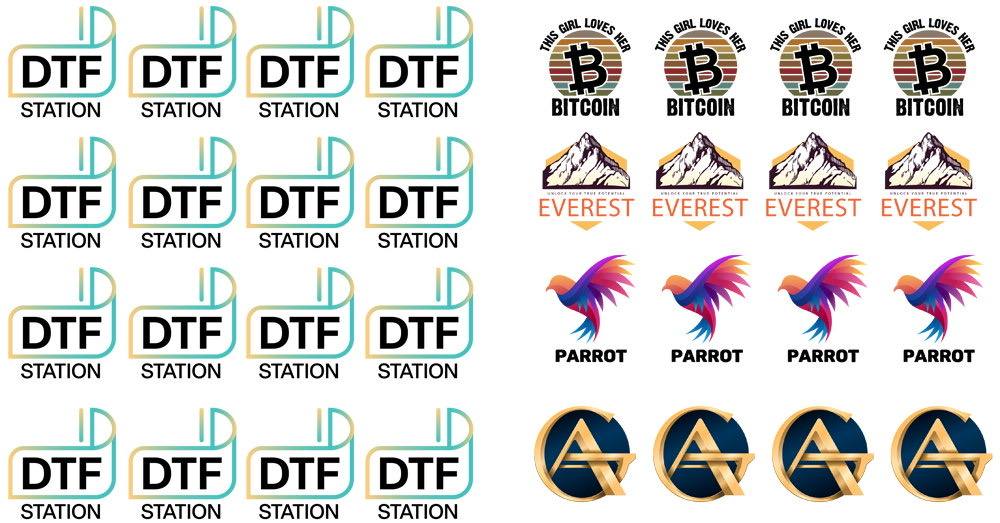 DTF Gang Sheet: Single Sheet with Same Logo Design OR Different Design
 The idea behind gang printing is to fit as many copies of different images, designs, or items onto a single sheet. This is particularly common in offset printing and digital printing processes. By combining multiple print jobs on a single sheet, the printer can make more efficient use of the paper or substrate, reducing costs and minimizing environmental impact. Here are the main benefits of gang sheet printing:
- Cost Savings: For small-batch or custom orders, gang sheet enables printers to share the cost of setup, materials, and labor across multiple designs, making it a cost-effective solution.
- Reduced Setup Time: Printing multiple designs in one run minimizes the need for frequent setup changes between different jobs. This can save time and increase overall production efficiency.
- Optimized Material Usage: Gang sheet printing allows for efficient use of garment printing materials, minimizing waste and maximizing the value of each sheet.
- Consistent Print Quality: Printing multiple garments with the same design in a single run can contribute to consistent print quality across the entire batch, ensuring uniformity and customer satisfaction.
- Enhanced Flexibility: Printers can adapt to varying customer demands and market trends more easily with gang sheet printing. The flexibility to accommodate different designs and orders makes it easier to respond to changing preferences.
Why DTF is The Best Choice for Crafting Gang Sheets?
While there are various methods for garment decorating using gang sheet printing, DTF printing stands out as the ultimate choice. This preference is attributed to its exceptional performance and features when compared to alternative printing techniques. Here, a comparison sheet highlighting different printing methods is provided, offering insights into why opting for DTF gang sheet printing might be the ideal choice for your business.
| Sublimation Transfer | DTF Transfer | Vinyl Transfer | Plastisol Transfer | Laser Transfer | |
|---|---|---|---|---|---|
| Fabric | 8 (works only on synthetic fabrics) | 10 (works on all fabrics) | 8 (works better on cotton and polyester) | 9 (works on wide range of fabrics) | 10 (works on all fabrics) |
| Details | 9 (possible loss of details while printing) | 10 (photo-realistic details) | 7 (simple design without intricate details) | 8 (best for bold design with color block) | 10 (intricate details) |
| Colors | 10 (Full Color) | 10 (Full Color) | 8 (One layer for each color, works for design with less colors) | 8 (One screen for each color, number of colors increases cost) | 10 (Full Color) |
| Texture | 10 (smooth and soft to the touch) | 9 (soft but large solid designs have a hand feel ) | 7 (strong plastic feel) | 9 (plastisol ink sitting on top of fabric) | 8 (thick feeling of patterns) |
| Durability | 10 (durable and long-lasting) | 10 (durable, flexible, and long-lasting) | 8 (start to peel after a few washes) | 10 (color start to fade after few washes ) | 8 (poor durability and wash ability) |
| Overall | 9.4 | 9.8 | 7.6 | 8.8 | 9.2 |
Gang Sheet Size Guide
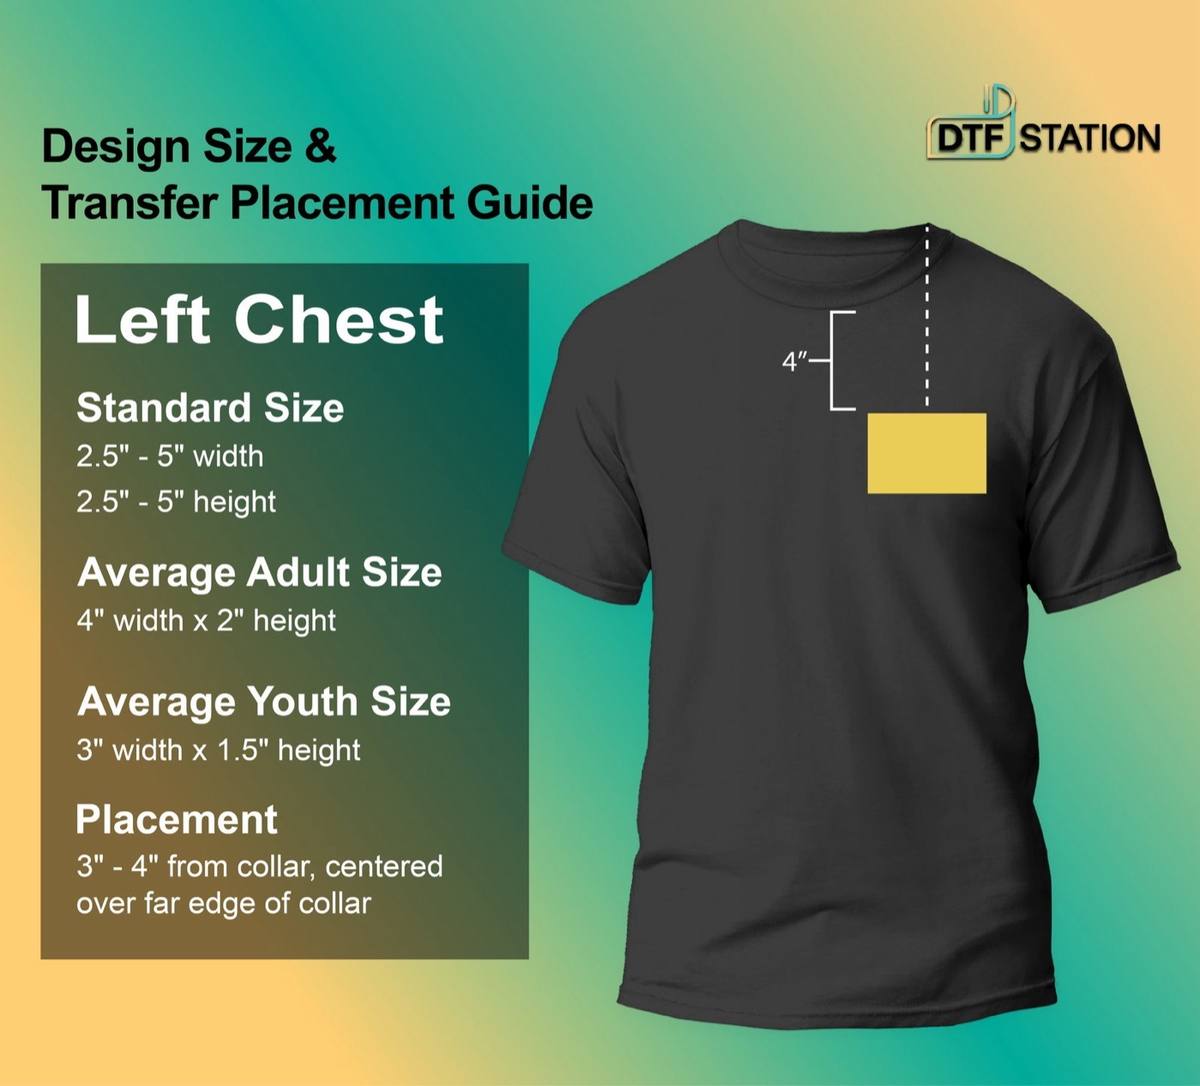
Before delving into the creation of your design on a gang sheet, it’s crucial to grasp the ideal design size for various placements on a garment. While you have the freedom to choose personalized images wherever you prefer, certain popular design placements can enhance the overall fashion appeal. Explore the chart below for guidance on size and position ideas. Additionally, for more detailed information, feel free to refer to our post titled “Transfer Placement T-shirt Design Size Chart Guide.”
| Print Location | Width | Height | Average Adult Size | Average Youth Size | Placement |
|---|---|---|---|---|---|
| Left Chest | 2.5″-5″ | 2.5″-5″ | 4″ width 2″ height | 3″ width 1.5″ height | 3″ – 4″ from collar, centered over far edge of collar |
| Center Chest | 6″-10″ | 6″-8″ | 8″ width 4″ height | 6″ width 3″ height | 4″ – 5″ from collar, centered – taller designs can start 3″ down |
| Full Front | 10″-12″ | 10″-14″ | 11″ width 11″ height | 9″ width 9″ height | 3″ from collar, centered – designs 6″ or shorter can go 4″ down |
| Oversize Front/Back | 12″-15″ | 14″-16″ | 13″ width 15″ height | 10″ width 12″ height | 2″ – 3″ down from collar, centered – oversize back placement 3.5″ down |
| Back Collar | 1″-3″ | 1″-3″ | 2″ width 2″ height | 1.5″ width 1.5″ height | 2″ down from collar, centered for large designs, 1″ down for smaller |
| Upper Back | 10″-14″ | 1″-6″ | 12″ width 4″ height | 10″ width 2.5″ height | 3″ – 4″ down from collar, centered, designs less than 2″ tall can go 5″ down |
| Full Back | 10″-14″ | 6″-15″ | 12″ width 14″ height | 10″ width 12″ height | 3″ – 4″ down from collar, centered |
| Sleeve | 1″-4″ | 1″-4″ | 2″ width 2″ height | 1.5″ width 1.5″ height | 1″ – 4″ from hem, centered on shoulder seam |
For instance, when crafting a design for the widely favored Left Chest logo placement, a recommended size might be a 4″ width and 2″ height for adult apparel. When transferring this design onto shirts, it’s advisable to center the design transfer over the far edge of the collar, positioned 3″ to 4″ away from the collar. Notably, the chart not only serves as a guide for design creation but also offers valuable placement instructions for the heat press process.
Free Online Gang Sheet Builder
If you’re currently utilizing DTF gang sheet printing in your business, chances are you’re working with software offered by DTF printers, such as CADlink software, for the creation of gang sheet designs. These software solutions come equipped with advanced features and functions, streamlining the process of designing files with ease and speed. To explore these capabilities, consider watching the “Gang Sheet Guide for DTF” tutorial video crafted by our distributor, AA Print Supply Co.
In cases that you’re not a design expert and unsure of where to begin with crafting a DTF gang sheet, the ideal solution is using online gang sheet builders. A notable challenge with many online gang sheet builders is that they are often offered by printing service providers. This means that your design file may not be exportable for independent printing and you might need to use their specific printing services to obtain the finished transfer. Fortunately, there are also free design tools available that allow you the flexibility to create your gang sheet without any cost. Canva stands out as one of the most popular and user-friendly options in the market.
How to Design A Gang Sheet for Free: Step-by-Step Tutorial
To design the gang sheet DTF transfer, it only require a free account of Canva. It’s quite simple and straightforward. Following are step-by-step guide.
Step 1: Create A New Design
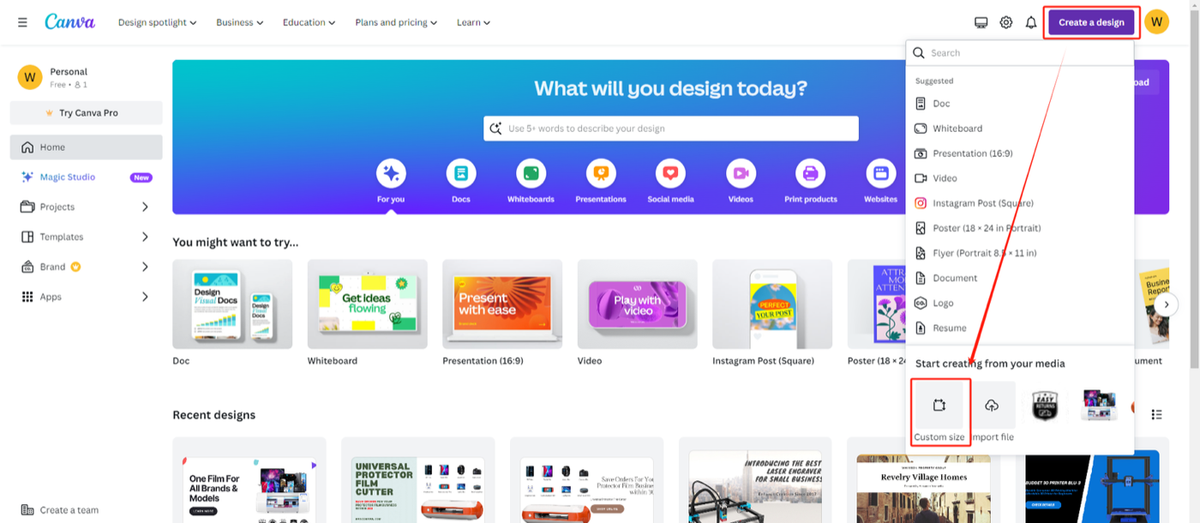
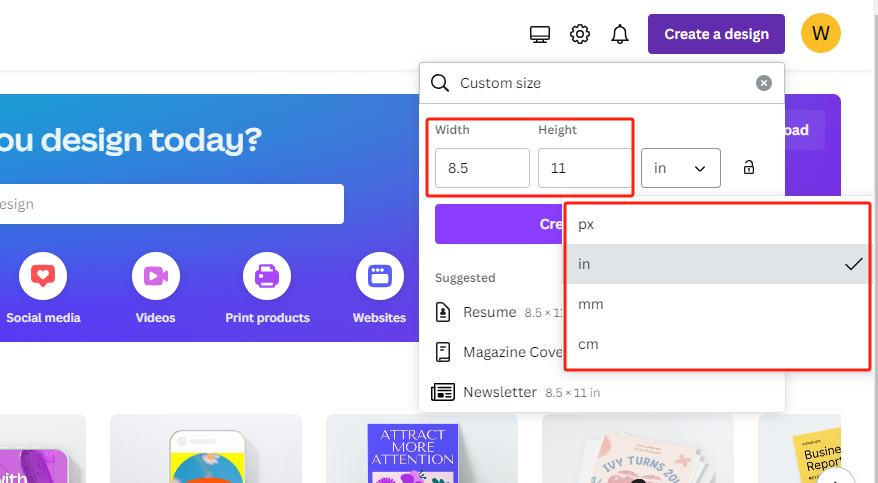
If you don’t have a Canva account yet, sign up using your email address to gain access. Once you’re logged in, click on the top right button, and from the drop-down list, choose “Custom Size” to initiate the creation of a new design for your gang sheet.
Step 2: Create the Canvas
Now, let’s begin by creating a blank canvas for your gang sheet. Before entering the canvas size, it’s crucial to check and confirm the exact size required for your gang sheet. If you’re using a DTF film sheet, you can set the canvas size to match the film size. For film rolls, it’s essential to consider the appropriate size to accommodate your designs and meet your specific requirements. Since the A4 DTF film sheet we provide is 8.5″x11″, we will use this size as the canvas size.
Step 3: Upload Images
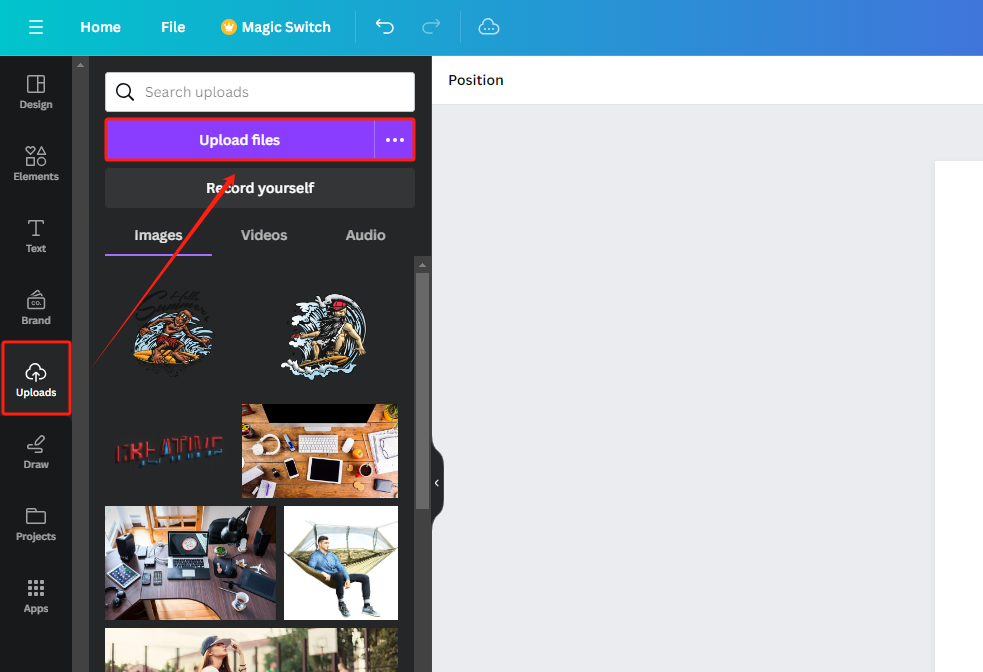
Canva offers a variety of elements, design templates, and advanced options to enhance your design, but the primary functions we’ll focus on are the “Upload” button for importing your design images into the gang sheet file and the text option if you wish to utilize the font library.
Step 4: Adjust & Design Your Layout
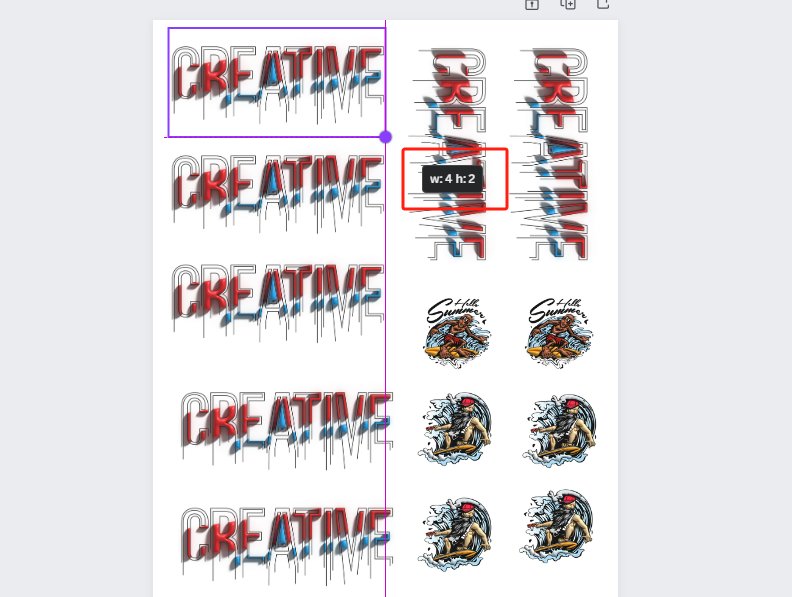
Next, drag the image files onto the canvas and fine-tune the size and layout for an optimal fashion appearance. To adjust the image size, place your mouse at the corner of the image and drag accordingly. You can also rotate the image to change its direction if necessary. Remember to align the size with the design chart for your desired transfer placement. For instance, if you’re using a text image as a left chest logo transfer, aim for a size around 4 inches in width and 2 inches in height.
Step 5: Save Your Design
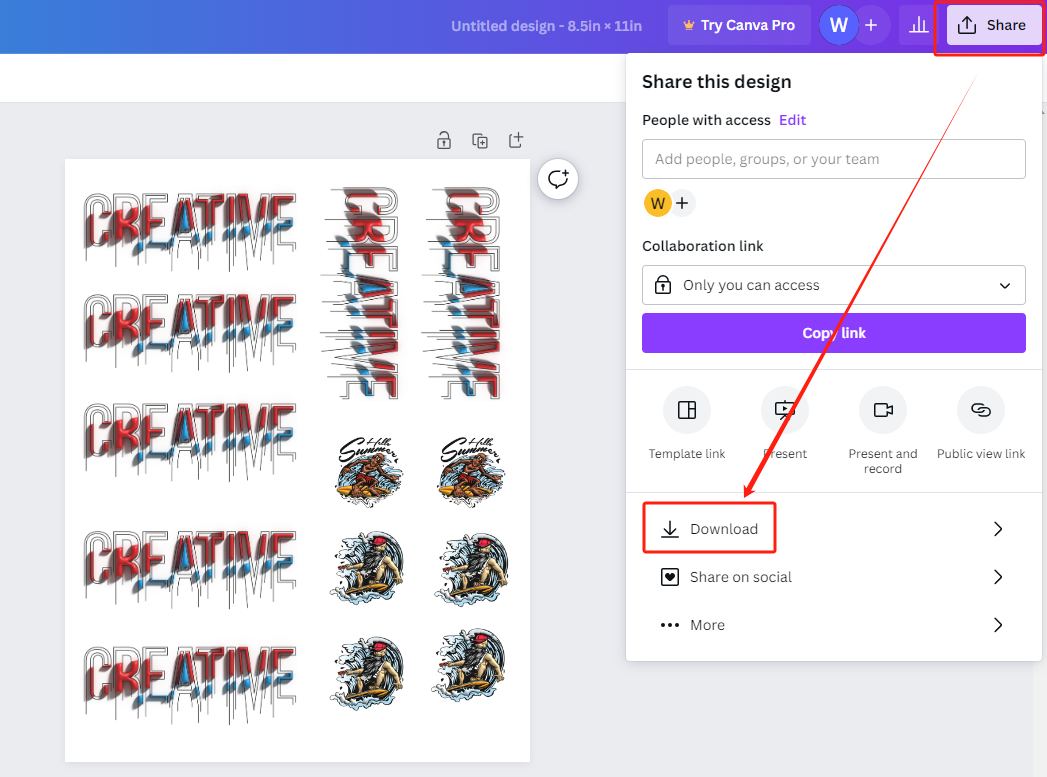
After completing your design, click the “Share” button in the top-right corner. From the dropdown list, select “Download” to save the gang sheet design file as a PNG image. Now, you’re all set to proceed with printing your gang sheet transfer.
How to Create A Gang Sheet in Photoshop
In addition to Canva, Photoshop stands out as another widely used free tool for creating gang sheets. If you’re looking for guidance, check out this helpful video tutorial:
Advanced DTF Gang Sheet Tactics
Designing a gang sheet for DTF printing may appear straightforward at first glance, but there are a few often-overlooked tricks that can significantly enhance the printing results and ensure a higher success rate.
- Image Resolution and Quality: Ensure all images on the gang sheet are with at least 300dpi resolution (or the image would be blurry) and optimized for DTF printing to achieve sharp and vibrant results.
- Image & Film Format: The recommended format for individual design images or entire gang sheet files is PNG with a transparent background. If you have access to the vector image file, it’s even better, as the design retains its quality when you adjust the size.
- Mind the Size: Ensure that the gang sheet file aligns with the specifications of your DTF printer and film. Confirm that each design image on the gang sheet has the ideal height and width for your intended transfer placement to prevent the finished transfer from being too large or too small for practical application on garments.
- Optimize Film Usage: Maximize film utilization by arranging designs efficiently, leaving minimal gaps between them. Rotate and flip designs if necessary to fit them snugly.
- Consider Cutting Paths: Plan cutting paths to minimize the length of travel for the cutting tool, reducing production time. Ensure that cutting paths avoid critical design elements.
How to Make Custom Gang Sheet DTF Transfer?
DTF gang sheet transfers provide business owners with the flexibility to store their popular designs for future printing service orders or to sell them as ready-to-print transfers to dealers or printing service providers. If you’re not familiar with the DTF printing technique, let’s delve into how it works and what you need to print your gang sheet using DTF printing.
How to Print the DTF Gang Sheet transfer Step by Step?
Direct-to-Film (DTF) printing utilizes a PET film to transfer designs onto garments. The process typically involves several steps, including design creation, printing, powder application, curing, cutting, and heat transfer.
What You’ll Need to Start DTF Gang Sheet Printing?
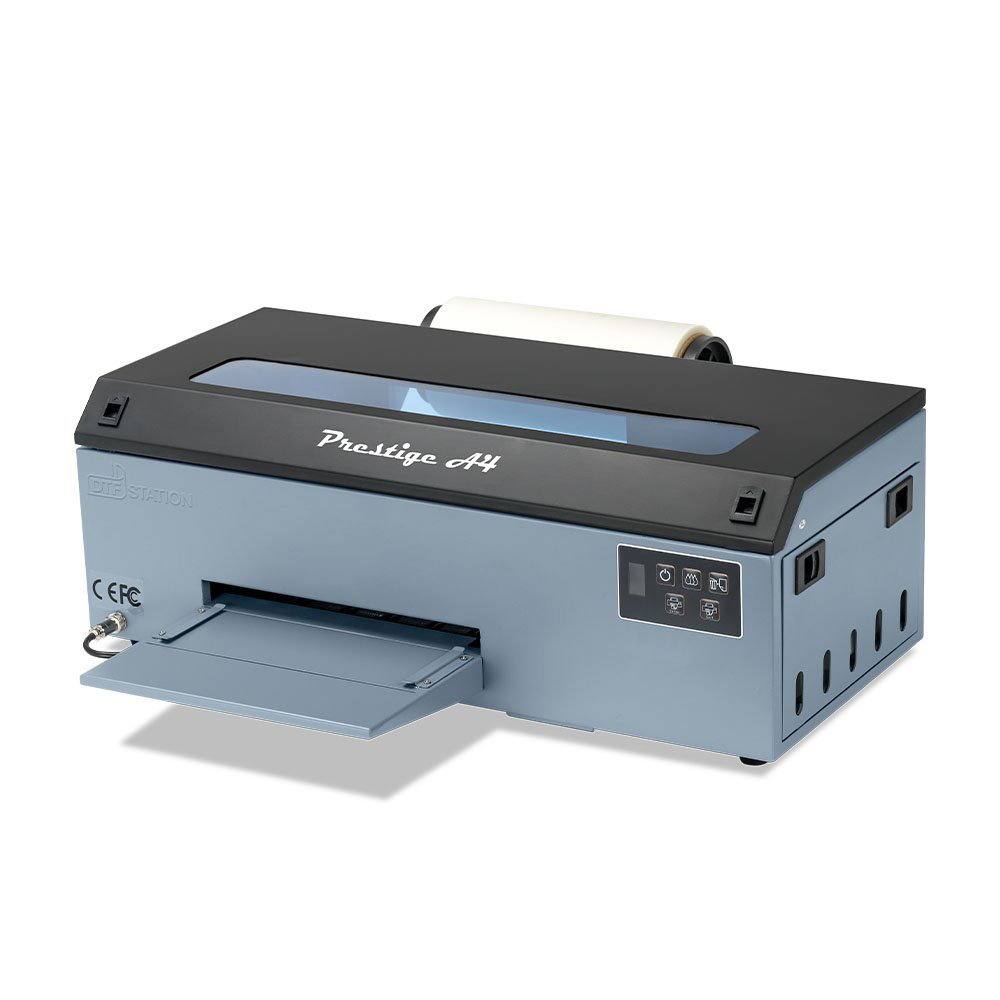
DTF Printer
The cornerstone of successful transfers lies in investing in a high-quality and reliable printer. It is crucial to select a printer that fits your business demands, considering factors such as printing resolution, width, speed, initial costs, and more. To assist you in making the right choice, explore our latest post for insights on choosing the ideal printer tailored to your business needs.
Find More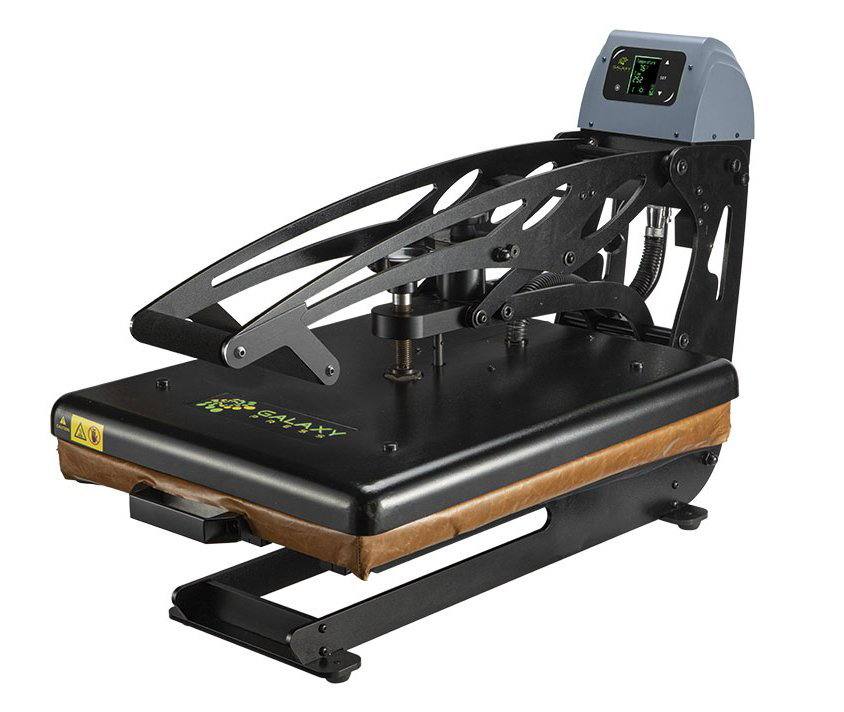
Heat Press
Ensuring an efficient and flawless transfer of designs onto your intended garments requires a quality heat press. Refer to our ultimate heat press setting guide to achieve optimal results for your projects.
Find More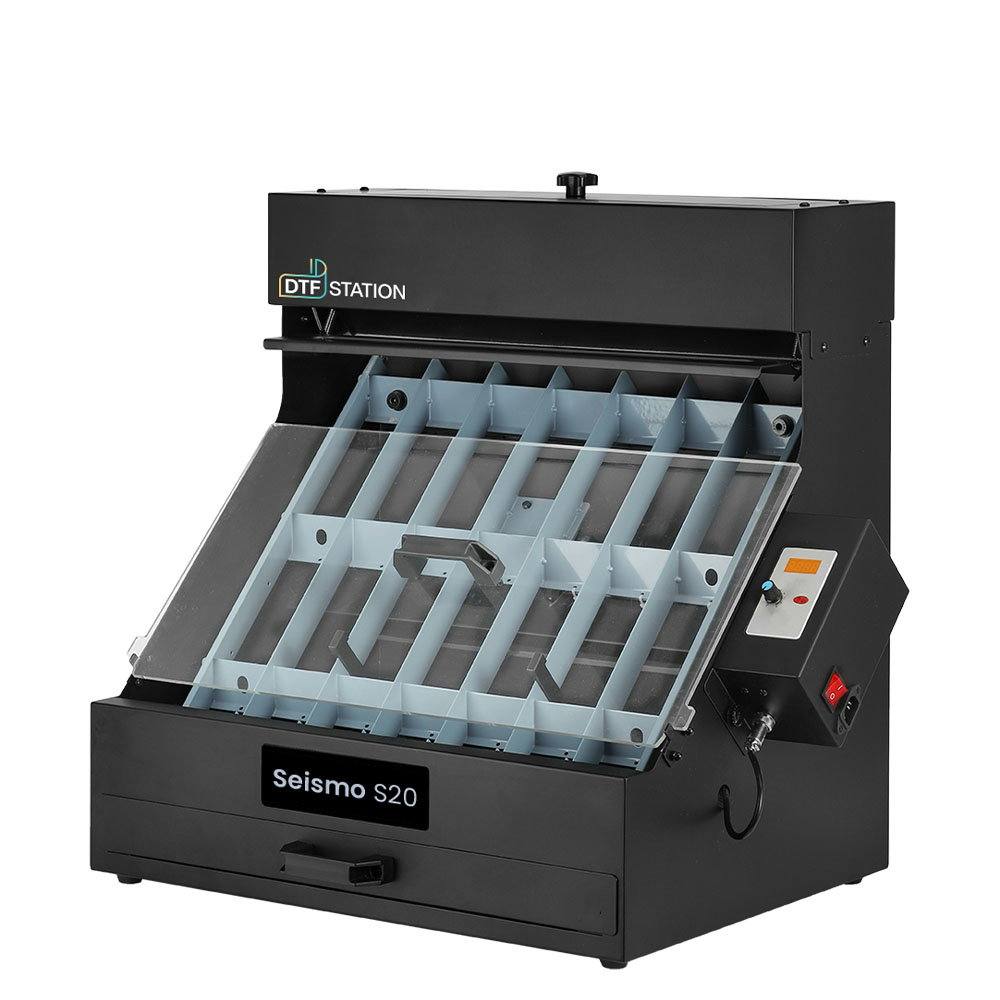
Powder Shaker (Optional)
While manual powder shaking is acceptable, a powder shaker machine provides a more efficient and even distribution of powder for optimized printing results. Additionally, there are upgraded powder shaking devices with integrated pre-heating and curing functions. The choice between them depends on your preference and business requirements.
Find More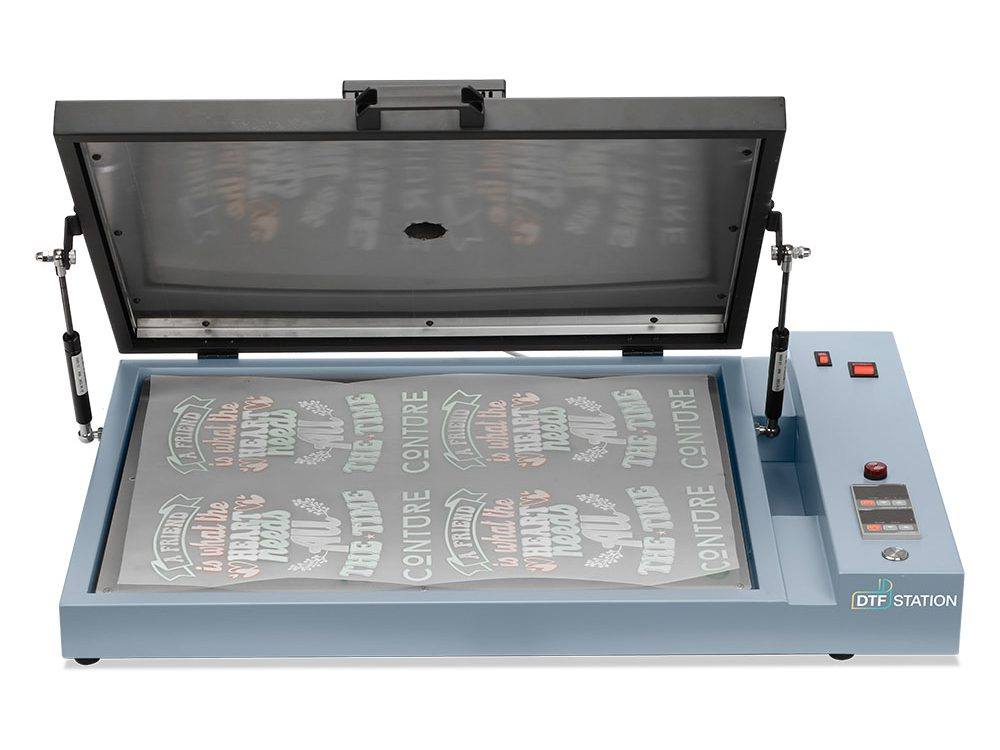
Curing Oven (Optional)
The curing oven is designed to activate and sets adhensive powder and enhance the quality and durability of the final print. Though curing oven is optional and many prefer using heat press for curing, it’s not a really recommended way especially for business runners handling bulk orders.
Find More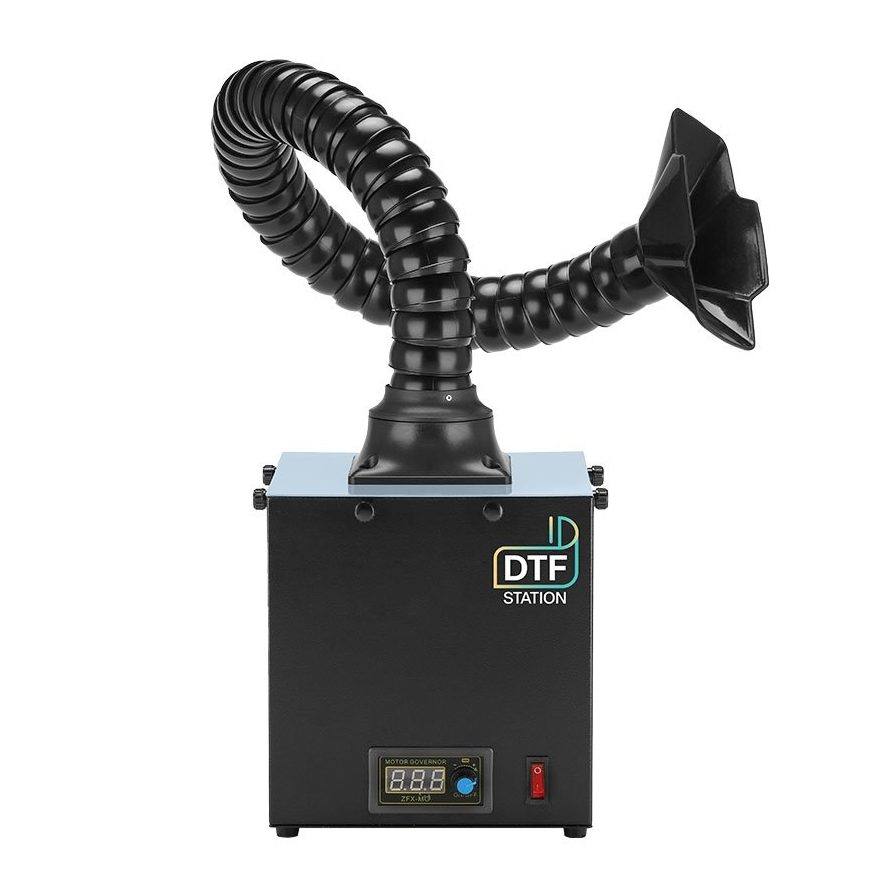
Air Purifier (Optional)
An air purifier is a key solution for a clean and odor-free workspace, especially essential for home-based or enclosed printing businesses. If you don’t have one, ensure good ventilation to avoid harmful fumes and particles, fostering a safer and more comfortable environment.
Find More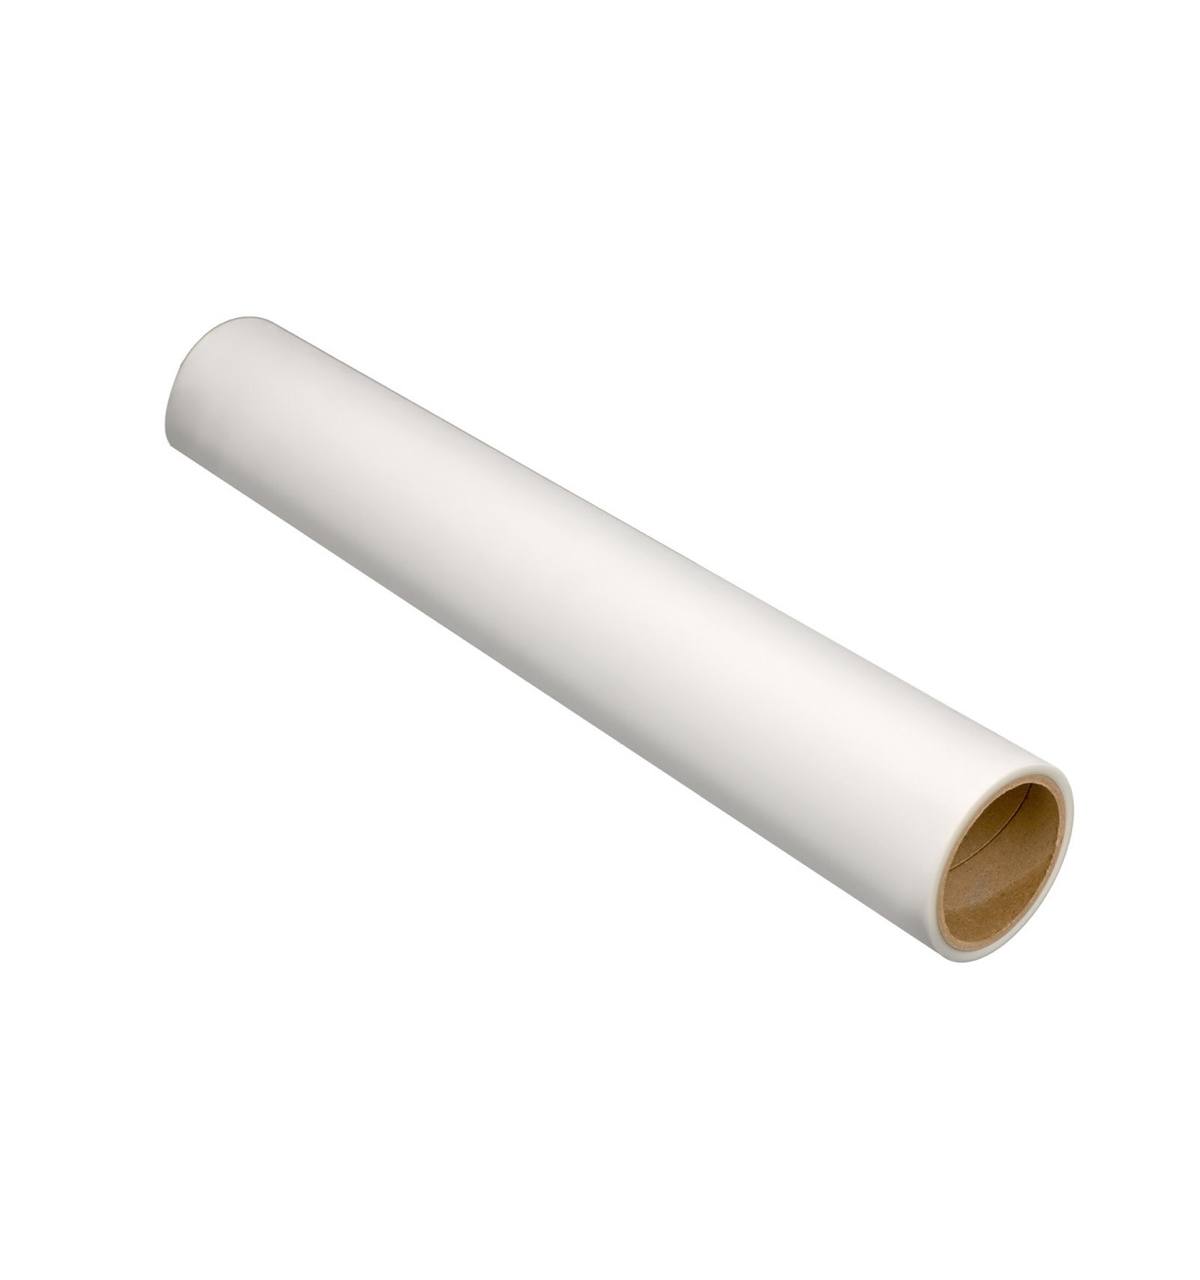
DTF Film
DTF film serves as the medium for transferring designs onto various surfaces, including fabrics. It is a crucial component in in producing vibrant, durable, and high-quality prints. The film could be either in roll or in sheet and cold peel or hot peel, business runners could choose as per preference and which best fit business needs.
Find More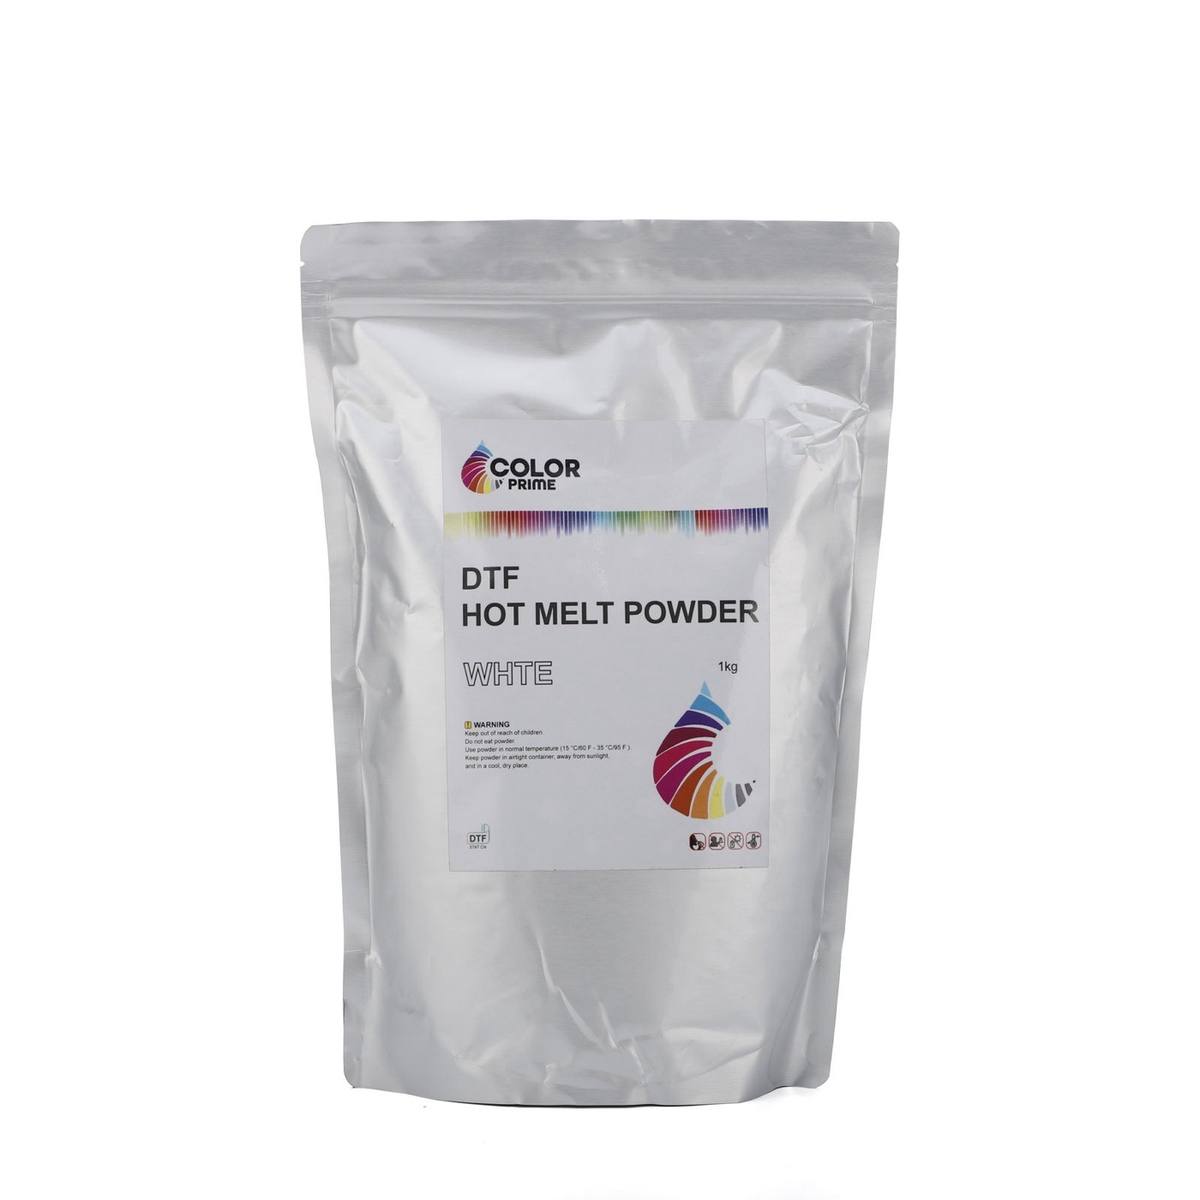
Adhesive Powder
Adhesive powder is a vital element in the DTF printing process, acting as a key bonding agent between the printed ink and the target surface, typically fabrics. Applied during the pre-treatment stage, this adhesive powder ensures optimal adhesion, durability, and color vibrancy in the final print.
Find More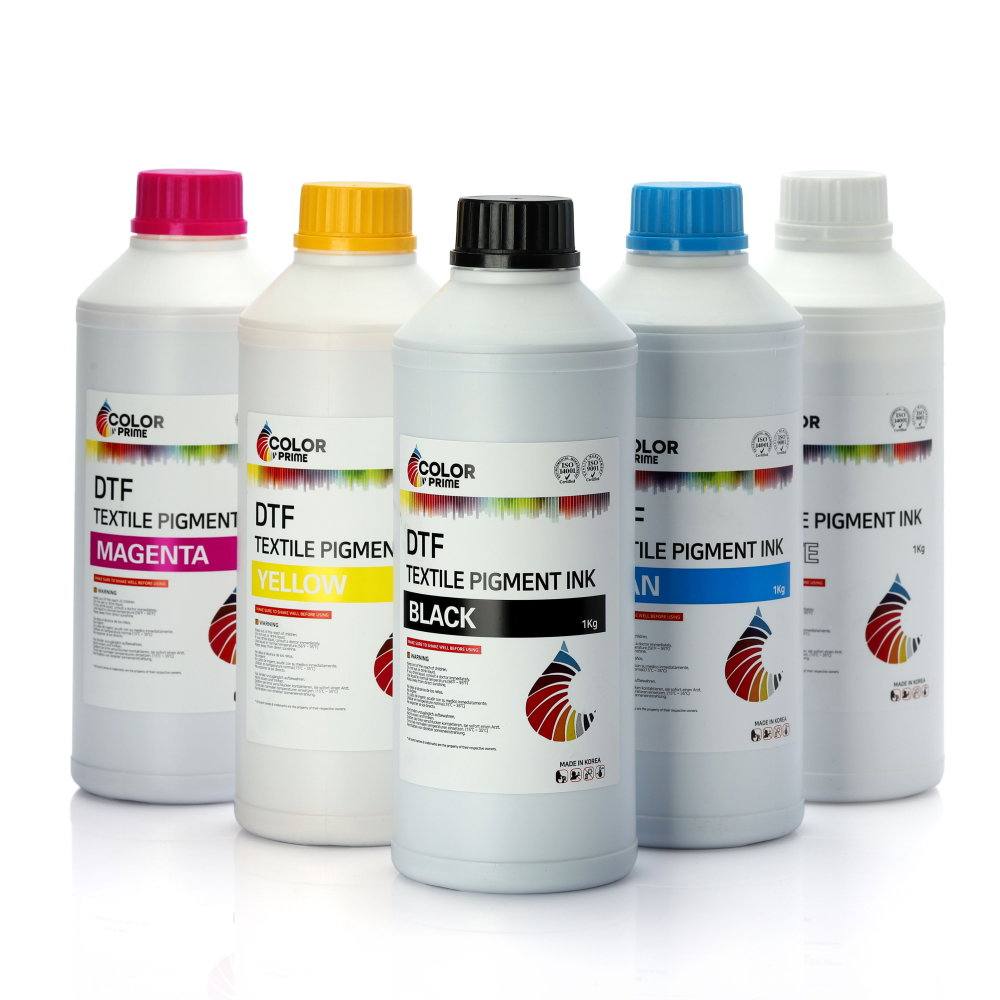
DTF Ink
DTF ink is specially formulated for the DTF printing process, designed to adhere to the film and transfer onto various surfaces, such as fabrics. This ink is known for its vibrant color reproduction, flexibility, and durability, making it an essential component in creating high-quality prints. DTF ink plays a crucial role in producing detailed and vivid designs, offering businesses a versatile solution for custom printing applications.
Find MoreConclusion
In concluding our exploration of DTF gang sheets, we’ve unraveled the intricacies that define successful printing. Understanding the importance of optimal size, leveraging user-friendly online tools, and incorporating design finesse are pivotal for achieving superior results. As you embark on your DTF printing journey, keep in mind these fundamentals to ensure your prints are not only efficient but also visually compelling. If you found the insights shared in this post beneficial, please share this post with fellow enthusiasts, printers, and creators or leave us a comment to share your insights regarding the topic.